Table of contents
1. Introduction to Village Soup
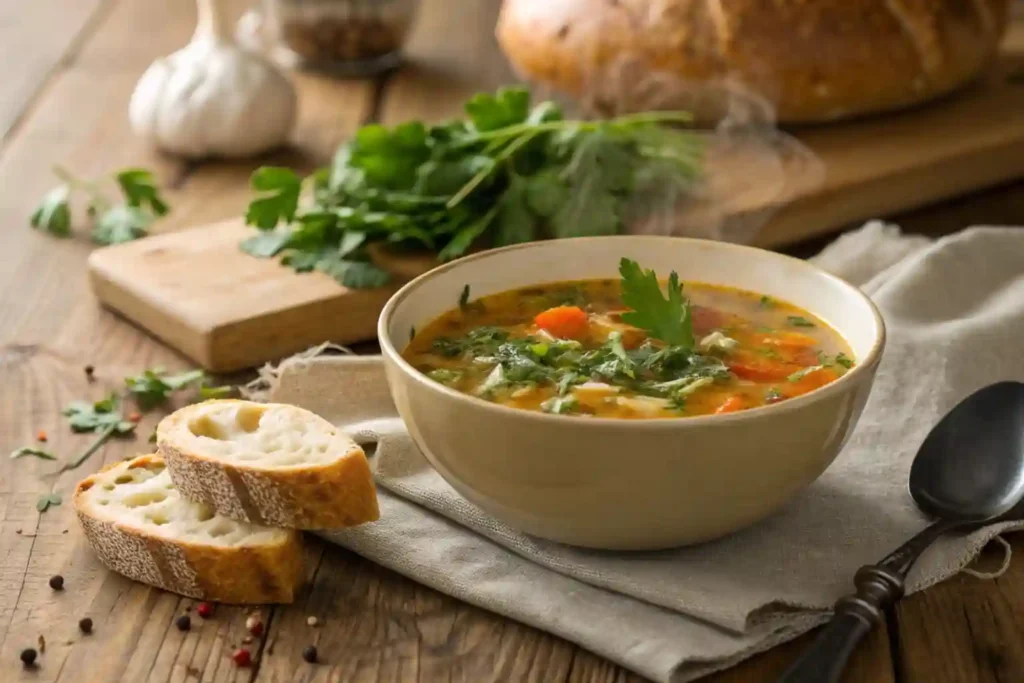
How to make village soup is a question that many home cooks ask when seeking a comforting and nutritious meal. This village soup recipe is more than just a dish; it embodies the essence of rustic cooking, often made with simple, wholesome ingredients that reflect the traditions of community and family gatherings. In many cultures, soup serves as a staple, bringing people together around the table.
Importance of Homemade Soup in Rustic and Traditional Cooking
- Cultural Significance: Village soup is often associated with home-cooked meals, passed down through generations. This village soup recipe represents the heart of family cooking, where recipes are shared and adapted over time.
- Nutritional Benefits: Homemade soup is packed with nutrients. This village soup recipe can be a great source of vitamins and minerals, especially when made with fresh vegetables. The broth provides hydration, while the variety of ingredients can contribute to a balanced diet.
- Comfort Food: There’s something inherently comforting about a warm bowl of soup. This hearty soup recipe is the perfect remedy for cold days, offering warmth and satisfaction.
2. Essential Ingredients for Village Soup

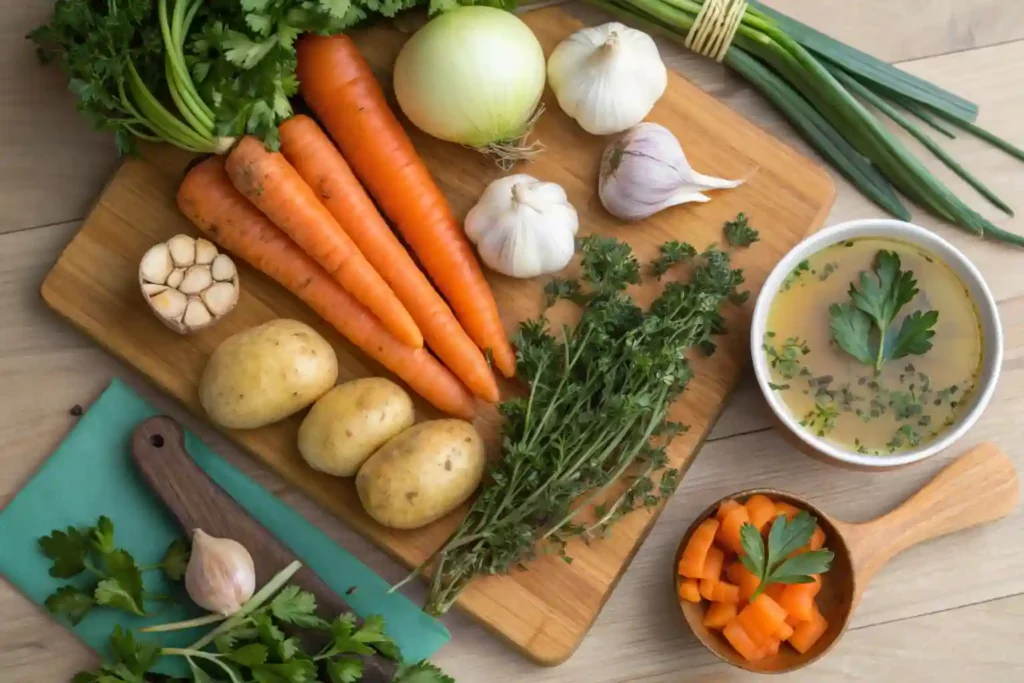
Creating a delicious village soup starts with selecting the right ingredients. The beauty of this dish lies in its versatility, allowing you to use whatever is available in your pantry or garden. Here are the essential components to consider:
Vegetables
- Carrots: These add sweetness and color to your soup. They are rich in beta-carotene, which is beneficial for eye health.
- Potatoes: A hearty addition that provides substance. Potatoes are versatile and can be used to thicken the soup naturally.
- Onions: Essential for building flavor, onions add depth to the broth. They can be sautéed to enhance their sweetness.
- Garlic: A must-have for flavor, garlic also offers numerous health benefits, including immune support.
Herbs and Spices
- Fresh Herbs: Using fresh herbs like thyme and parsley can elevate the flavor profile of your village soup recipe. They add brightness and freshness.
- Spices: Consider adding spices like black pepper, bay leaves, or even a pinch of red pepper flakes for a bit of heat. These can enhance the overall taste and aroma of the soup.
Broth Options
- Vegetable Broth: A great choice for a vegetarian or vegan version of village soup. It provides a rich base without any animal products.
- Chicken Broth: For a heartier flavor, chicken broth can be used. It adds depth and richness to the soup, making it more satisfying.
Protein Additions
- Beans: Adding beans, such as cannellini or kidney beans, can increase the protein content and make the soup more filling. They also add a creamy texture.
- Lentils: Another excellent source of protein, lentils cook quickly and can be added directly to the soup without pre-soaking.
3. Cooking Tools You’ll Need
Having the right tools can make the process of making village soup much easier and more enjoyable. Here’s a list of essential cooking tools you’ll need:
Basic Tools
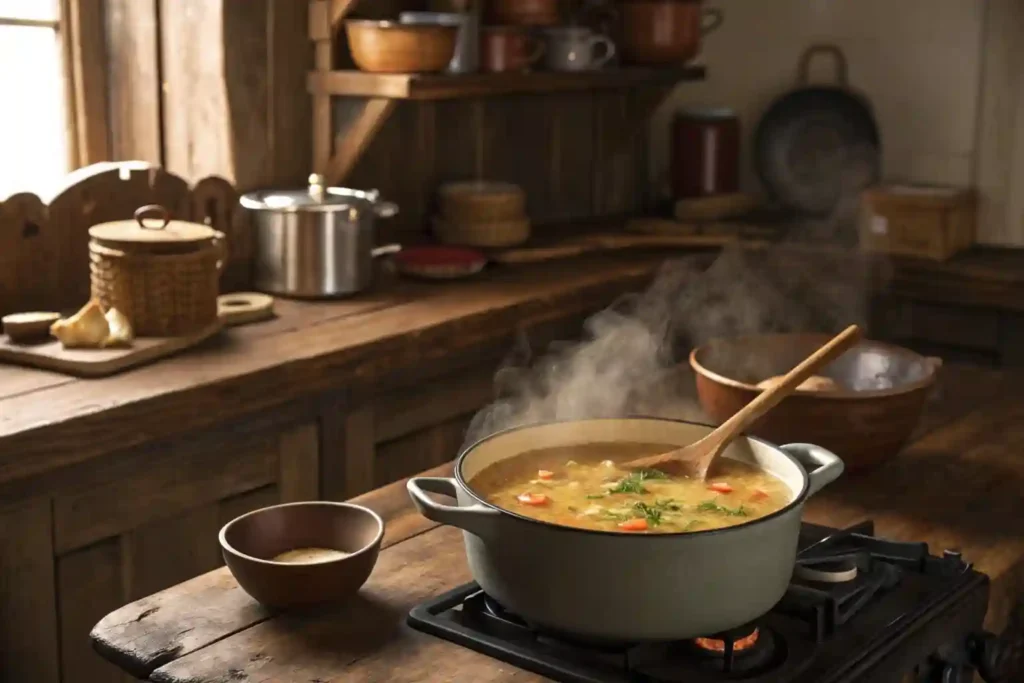
- Pot: A large pot is essential for simmering your village soup recipe. Choose one that can hold at least 4-6 quarts to accommodate all the ingredients.
- Knife: A sharp knife is crucial for chopping vegetables efficiently. A good chef’s knife will make the prep work much easier.
- Cutting Board: A sturdy cutting board provides a safe surface for chopping and slicing your ingredients.
- Ladle: This tool is perfect for serving your soup. A ladle allows you to scoop out portions without making a mess.
Optional Tools
- Blender: If you prefer a creamy texture, a blender can be used to puree the soup. This is especially useful if you want to make a smooth vegetable soup.
- Measuring Cups: For accuracy in your recipe, measuring cups can help you portion out ingredients, especially when adding broth or spices.
Storage Containers
- Glass Containers: For storing leftover soup, glass containers are ideal. They are microwave-safe and help keep the soup fresh.
- Freezer Bags: If you plan to freeze your soup, consider using freezer bags. They save space and make it easy to thaw portions as needed.
4. Step-by-Step Guide to Making Village Soup

Making village soup is a straightforward process that allows for creativity and personalization. Follow these steps to create a delicious and hearty soup that will warm your soul.
Preparation
Before you start cooking, it’s essential to prepare your ingredients properly. This will make the cooking process smoother and more enjoyable.
- Chopping Vegetables: Begin by washing and peeling your vegetables. Chop them into uniform pieces to ensure even cooking. For example:
- Dice onions and garlic finely to release their flavors.
- Cut carrots and potatoes into bite-sized cubes.
- Measuring Ingredients: Gather all your ingredients and measure them out. This includes your broth, vegetables, herbs, and any protein additions. Having everything ready will streamline the cooking process.
Cooking Process
Once your ingredients are prepped, it’s time to start cooking. Here’s how to do it:
- Sauté the Aromatics:
- In a large pot, heat a tablespoon of olive oil over medium heat.
- Add the diced onions and sauté until they become translucent, about 5 minutes.
- Stir in the minced garlic and cook for an additional minute until fragrant.
- Add the Vegetables:
- Add the chopped carrots and potatoes to the pot. Stir to combine with the onions and garlic.
- Sauté the vegetables for about 5-7 minutes, allowing them to soften slightly.
- Pour in the Broth:
- Add your chosen broth (vegetable or chicken) to the pot. Use about 4-6 cups, depending on how much soup you want to make.
- Bring the mixture to a boil, then reduce the heat to a simmer.
- Incorporate Protein:
- If you’re adding beans or lentils, now is the time to include them. If using canned beans, rinse them under cold water before adding.
- For dried lentils, ensure they are rinsed and sorted before adding them to the pot.
- Simmer the Soup:
- Allow the soup to simmer for about 20-30 minutes. This will give the flavors time to meld and the vegetables to become tender.
- Stir occasionally to prevent sticking and ensure even cooking.
Adjusting Flavors
As your soup simmers, it’s crucial to taste and adjust the flavors. Here are some tips to enhance the taste of your village soup:
- Seasoning: After about 15 minutes of simmering, taste the soup. Add salt and pepper to your liking. Remember, you can always add more, but you can’t take it out!
- Herbs: If you’re using fresh herbs, add them towards the end of the cooking process to preserve their flavor. Dried herbs can be added earlier in the cooking process.
- Acidity: A splash of lemon juice or a dash of vinegar can brighten the flavors of your soup. Add this just before serving for the best effect.
Serving Suggestions
Once your village soup is ready, it’s time to serve! Here are some ideas to make your meal even more enjoyable:
- Garnishing: Top each bowl with fresh herbs like parsley or chives for a pop of color and flavor.
- Accompaniments: Serve your soup with crusty bread or a side salad for a complete meal. A sprinkle of grated cheese can also add richness.
- Presentation: Use rustic bowls to enhance the homey feel of your dish. A ladle can make serving easier and more elegant.
5. Variations of Village Soup
One of the most delightful aspects of village soup is its versatility. You can easily adapt the recipe to suit your taste preferences, dietary needs, or seasonal ingredients. Here are some variations to consider:
Regional Variations
- French Village Soup (Soupe au Pistou): This variation includes a blend of fresh basil, garlic, and olive oil, known as pistou, added at the end of cooking. It often features seasonal vegetables like zucchini and green beans.
- Italian Minestrone: A hearty soup that includes pasta, beans, and a variety of vegetables. It’s often flavored with Italian herbs and served with grated Parmesan cheese.
- Eastern European Borscht: A beet-based soup that is vibrant in color and flavor. It typically includes cabbage, potatoes, and is often served with a dollop of sour cream.
Seasonal Ingredients
- Spring: Use fresh peas, asparagus, and spinach for a light and refreshing soup. These ingredients add vibrant colors and flavors.
- Summer: Incorporate tomatoes, zucchini, and bell peppers. A summer village soup can be lighter and more refreshing, perfect for warm days.
- Fall: Add root vegetables like sweet potatoes and squash. These ingredients provide a hearty and comforting flavor profile.
- Winter: Use hearty greens like kale or collard greens, along with winter squash. This variation is perfect for cold weather and offers a robust flavor.
Dietary Adjustments
- Vegetarian/Vegan: Simply use vegetable broth and omit any animal products. You can add more beans or lentils for protein.
- Gluten-Free: Ensure that any pasta used is gluten-free, or skip the pasta altogether and focus on the vegetables and beans.
- Low-Carb: Replace starchy vegetables with low-carb options like cauliflower or zucchini noodles to create a lighter soup.
Creative Twists
- Spicy Village Soup: Add diced jalapeños or a pinch of cayenne pepper for a spicy kick. This can elevate the flavor and add warmth.
- Creamy Version: Blend a portion of the soup to create a creamy texture without adding dairy. You can also stir in coconut milk for a unique flavor.
- Herb-Infused Oil: Drizzle a bit of herb-infused oil over the soup before serving for an extra layer of flavor.
6. Conclusion and FAQs
Conclusion
In conclusion, making a village soup recipe is a delightful culinary experience that not only nourishes the body but also warms the heart. With its simple ingredients and versatile nature, this soup can be adapted to suit any season or dietary preference. Whether you stick to the traditional recipe or explore variations, the joy of cooking and sharing this meal with loved ones is what truly matters.
For those interested in exploring the health benefits of various ingredients, you might find our article on Is Indian Food Healthy? insightful. If you’re looking for convenient meal options, check out Healthy Choice Frozen Meals for inspiration. And for a fun twist on soup, don’t miss our Swamp Soup Recipe, which showcases the creativity that can be found in soup-making.
FAQs
1. What is the best way to store leftover village soup?
- Store leftover soup in airtight containers in the refrigerator for up to 3-4 days. Make sure to let it cool before sealing the containers.
2. Can I freeze village soup, and how long does it last?
- Yes, you can freeze village soup! Allow it to cool completely, then transfer it to freezer-safe containers or bags. It can last for up to 3 months in the freezer. Thaw in the refrigerator overnight before reheating.
3. What are some common mistakes to avoid when making soup?
- Avoid overcooking vegetables, which can lead to mushiness. Also, be cautious with salt; it’s better to start with less and adjust as needed. Lastly, don’t forget to taste as you go!
4. How can I make my village soup more flavorful?
- Enhance the flavor by using high-quality broth, adding fresh herbs, and incorporating a splash of acid (like lemon juice or vinegar) just before serving. Experimenting with spices can also add depth to the flavor.
